Set up Git for a new project
This guide walks through the essentials: installing Git, initializing a repository, configuring identity, and pushing your first commit to GitHub.
1. Install Git
Download Git from https://git-scm.com/downloads and follow the installer for your operating system (Windows, Mac, or Linux).
Verify the installation:
git --version
2. Configure your identity
Set your global name and email (used in commits) to authenticate yourself:
git config --global user.name "Your Name"
git config --global user.email "you@example.com"
Confirm your settings:
git config --global --list
3. Open your project
Open your project in VS Code, or open your project location in your terminal/cmd.
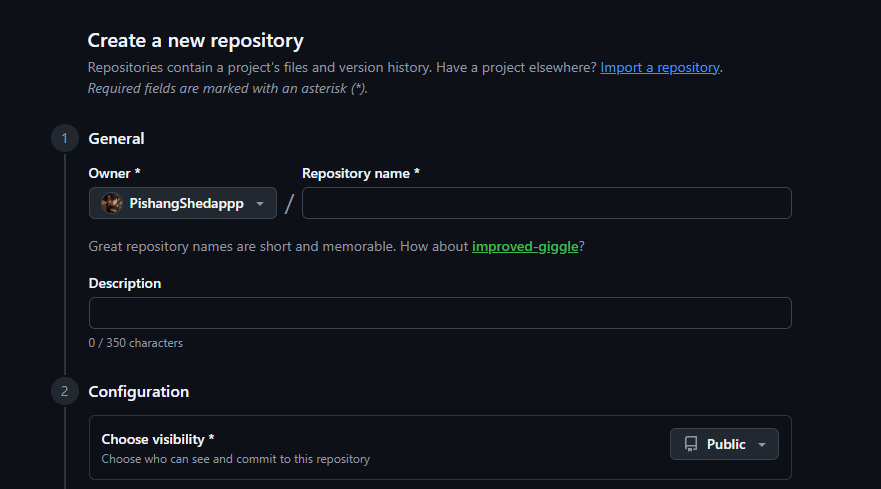
4. Create a new repository on GitHub
Go to github.com and click the New button to create a new repository.

Enter your repository name, choose whether it should be Public or Private, and click Create repository at the bottom.
5. Initialize and push your code
After creating the repository, GitHub will show you a set of commands to push an existing repository from the command line. It will look something like this (but based on your repository name and username):
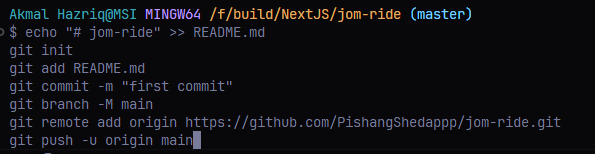
Copy those commands and paste them into your terminal/cmd. For example:
echo "# your-repo-name" >> README.md
git init
git add README.md
git commit -m "first commit"
git branch -M main
git remote add origin https://github.com/YourUsername/your-repo-name.git
git push -u origin main
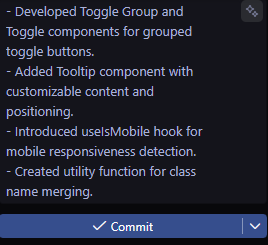
6. Manage changes in VS Code
Once your repository is set up, you can manage future changes directly in VS Code:
- Go to the Source Control tab in VS Code.
- If there are any uncommitted changes, enter a commit message.
- Click on Commit and then Sync Changes.
![]()
That's it! You can now reload your GitHub repository page to see your code.